Rich, chocolatey protein cupcakes

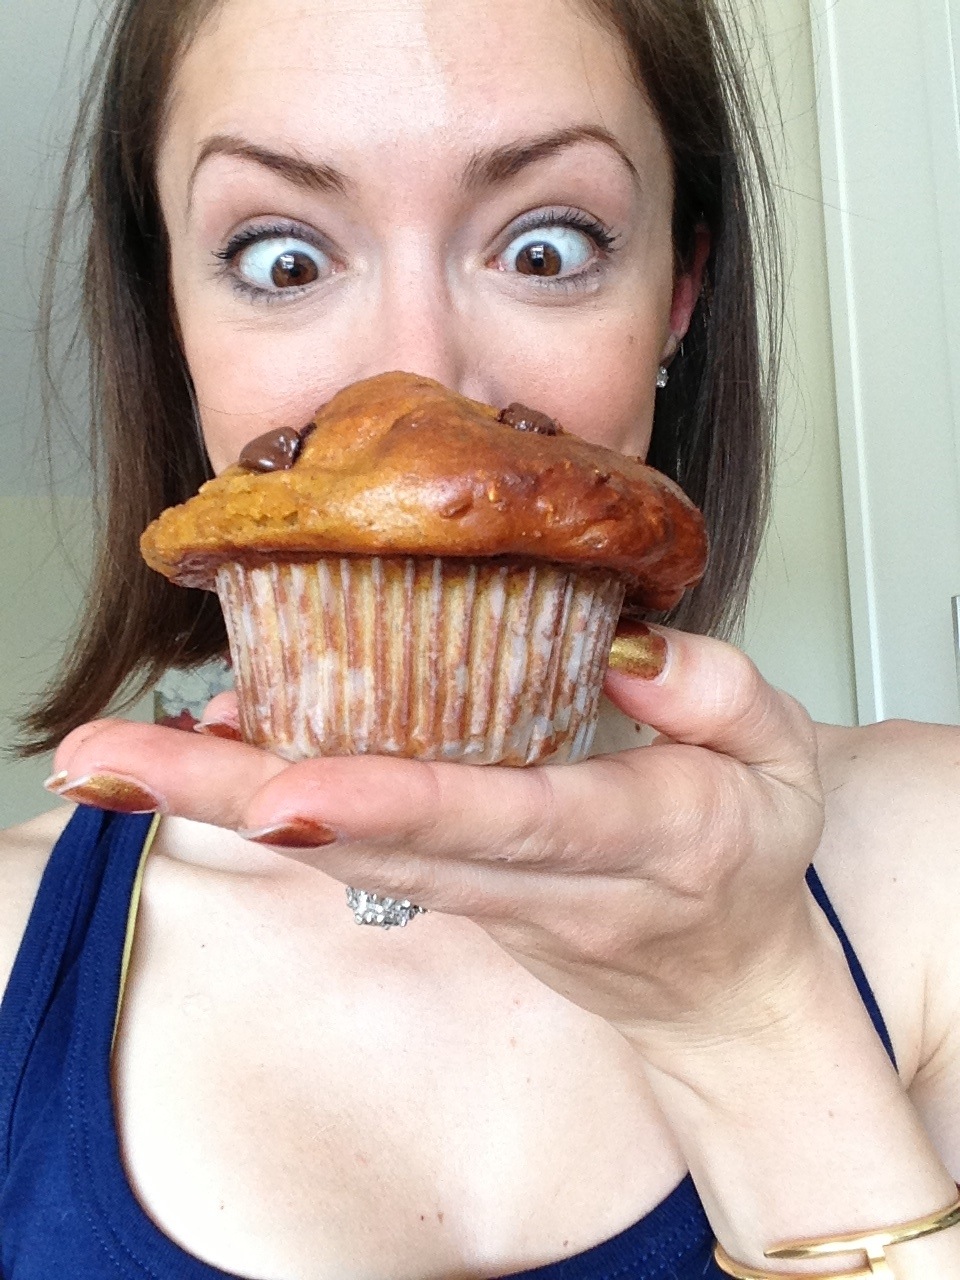
I think I’ve made it pretty clear that I try to eat dessert for every meal 😉 ha! And because I have SUCH a sweet tooth, I have to work EXTRA hard to make things that will satisfy my cravings and keep my ass cellulite free-ish.

I’ve been working on perfecting my cupcakes since they tend to com out too moist, too dense or just not great period. After doing a little research I THINK I’ve perfected the recipe.

Hope you enjoy these as much as I am!!!

What your sexy self will need:

Dry ingredients:
🔸104g (2scoops) AI sports nutrition Chocolate dream protein powder
🔸28g (1/4c) barley flour
🔸28g coconut flour
🔸15g (2.5 tspn) (packed) Splenda brown sugar blend
🔸24g (4TBL) ghiradelli cocoa powder
🔸2 tspn baking soda
🔸1 tspn baking powder

Wet ingredients:
🔹2 whole large eggs
🔹92g (6TBL) liquid egg whites – or two egg whites
🔹1C unsweetened almond milk
🔹113g (1/2C) unsweetened applesauce
🔹1tspn vanilla extract
🔹3 droppers liquid stevia (I used the chocolate flavor)

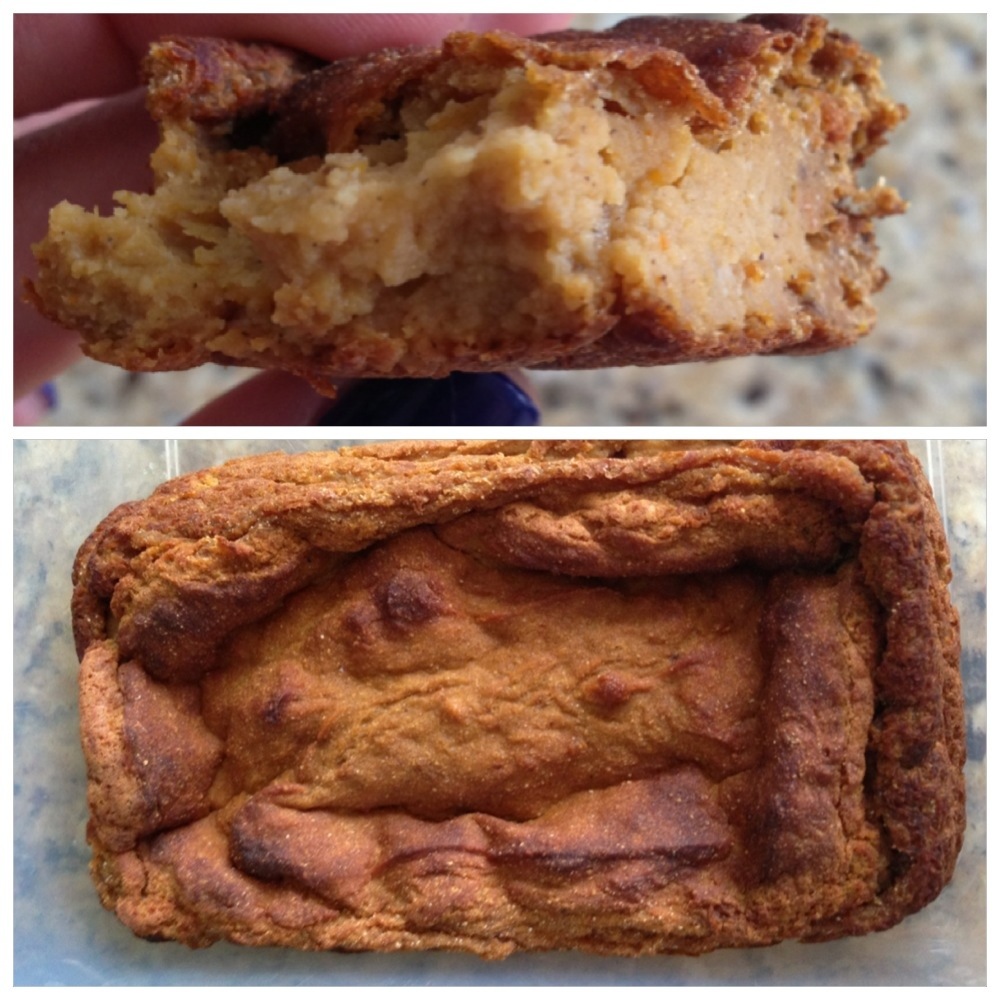
Preheat your oven to 350 degrees. Mix dry ingredients in a separate bowl from your wet ingredients. Then slowly combine together. Careful to not OVER mix.

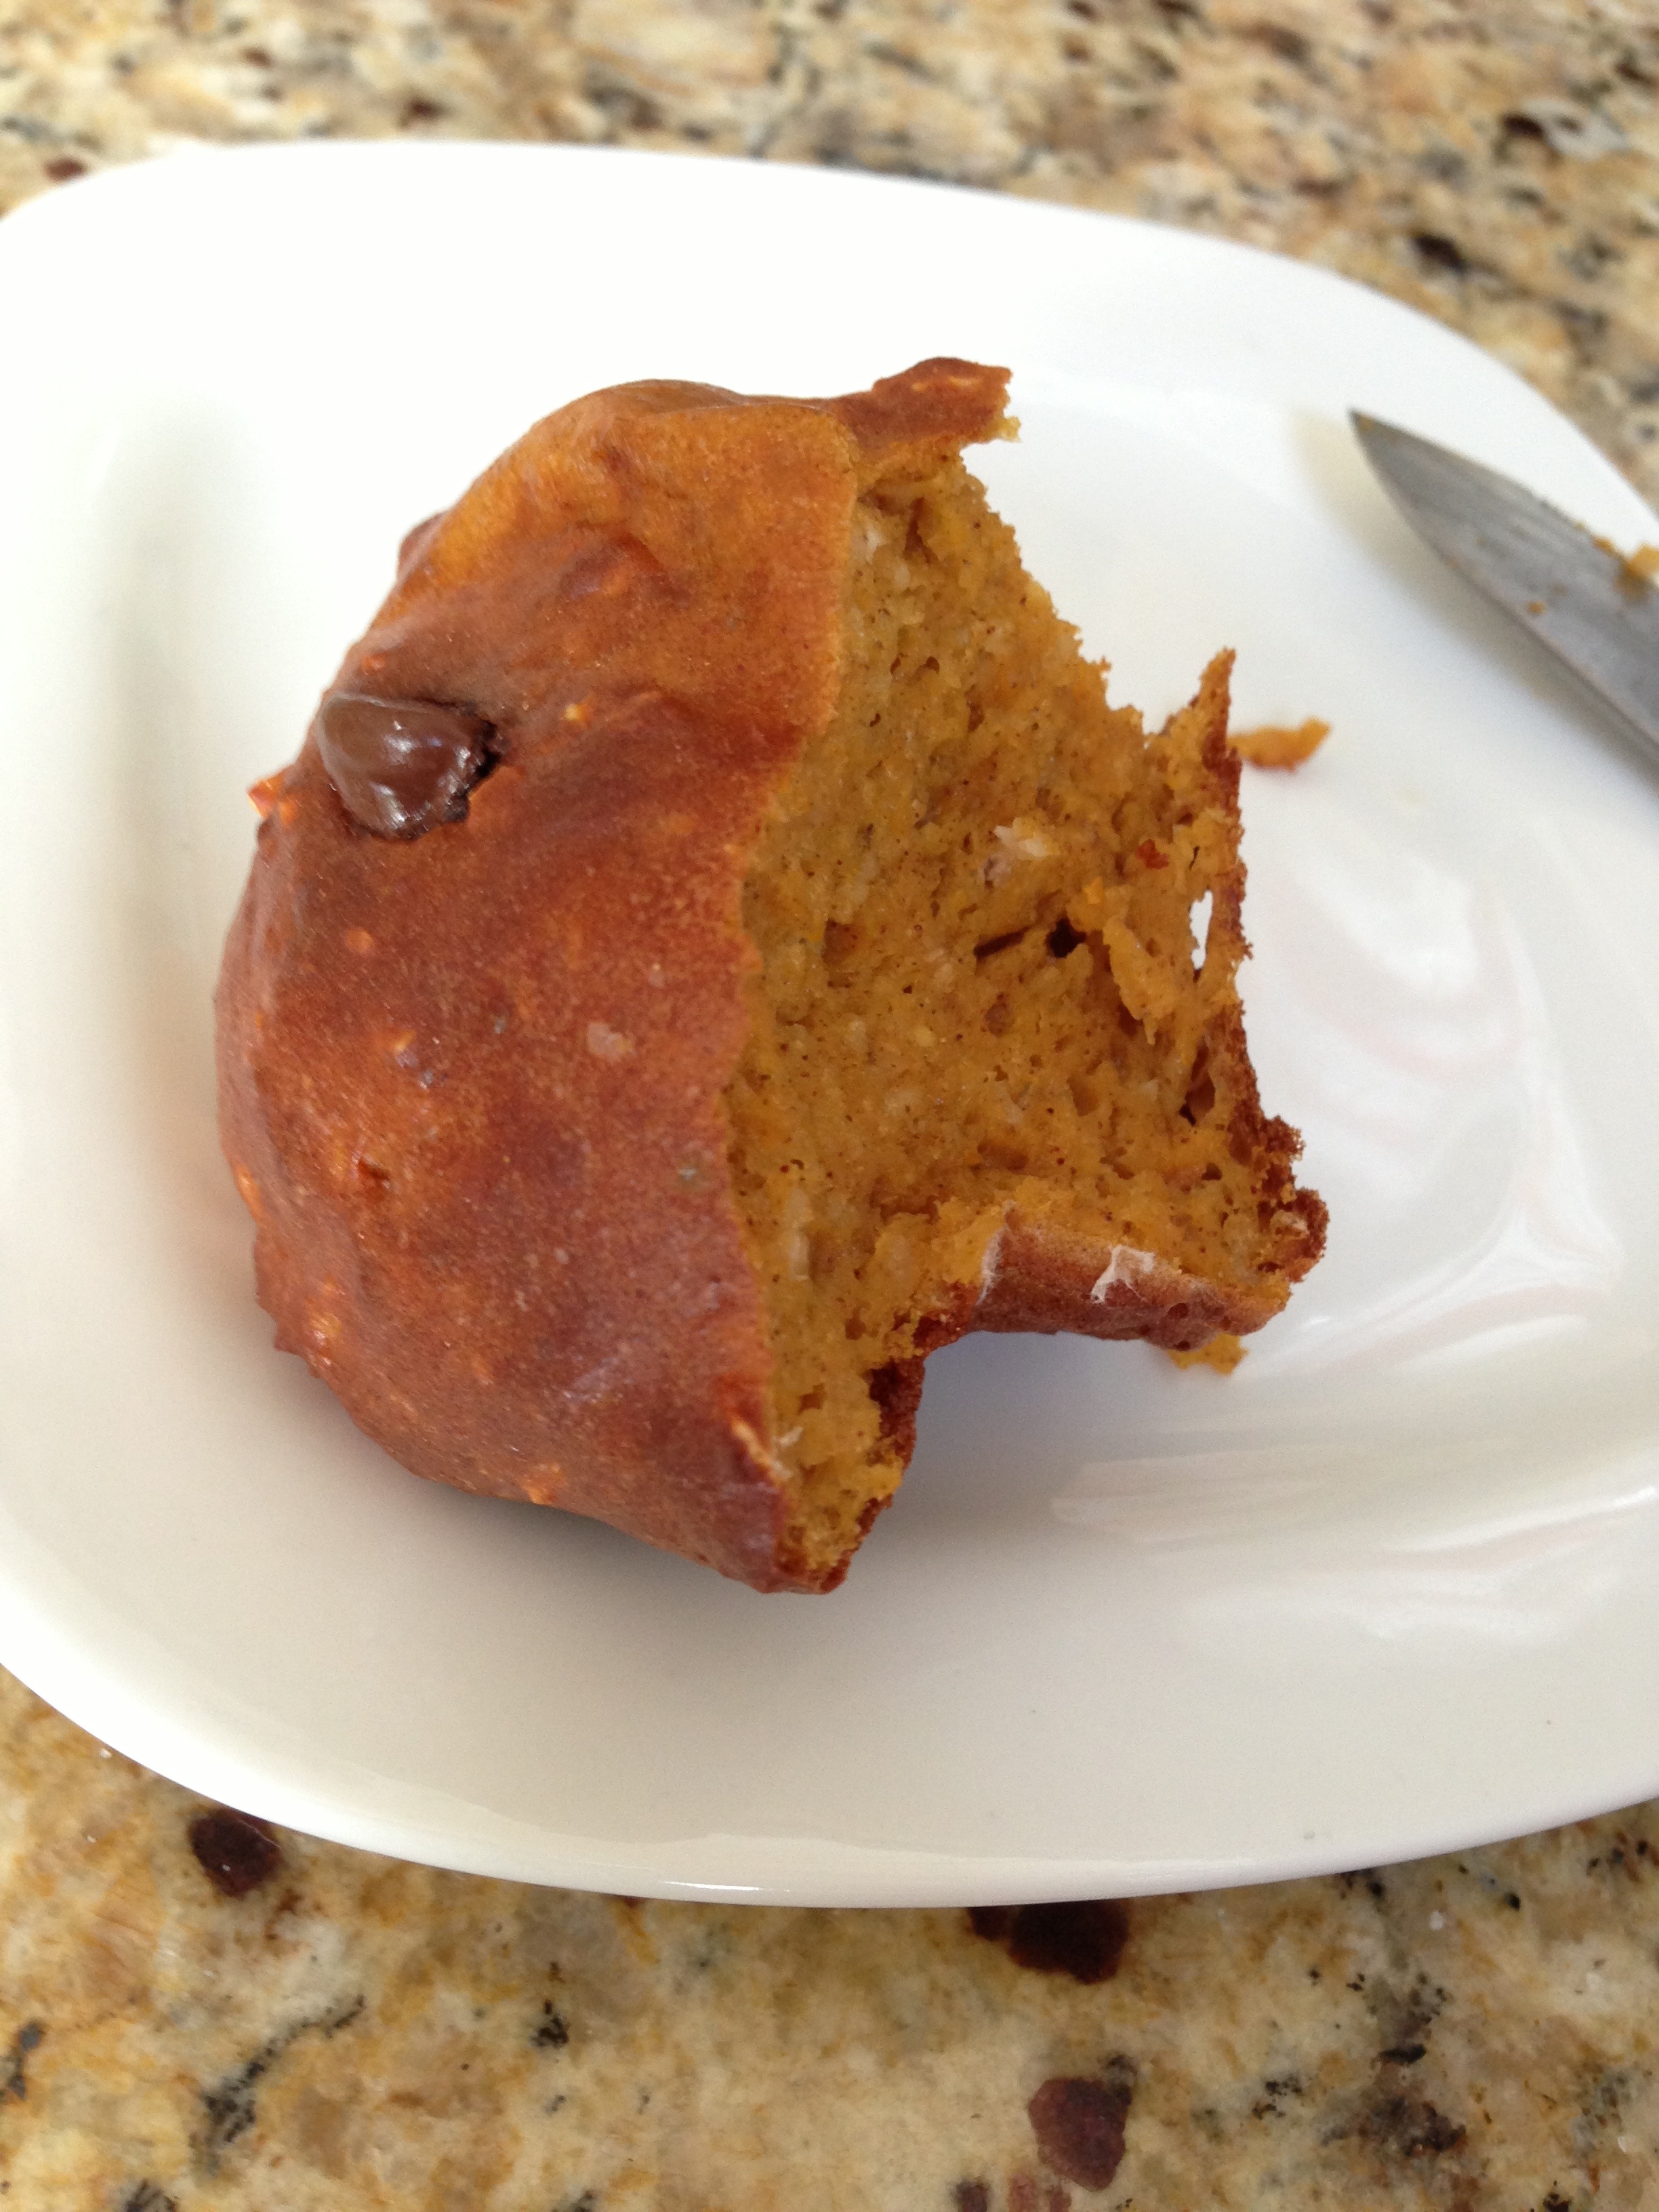
Divide mixture into sprayed muffin tins & bake for 20min. The secret is to let them cool completely before eating them.

Macros per cupcake:
12g protein
11.5g carbs
3.5g fat

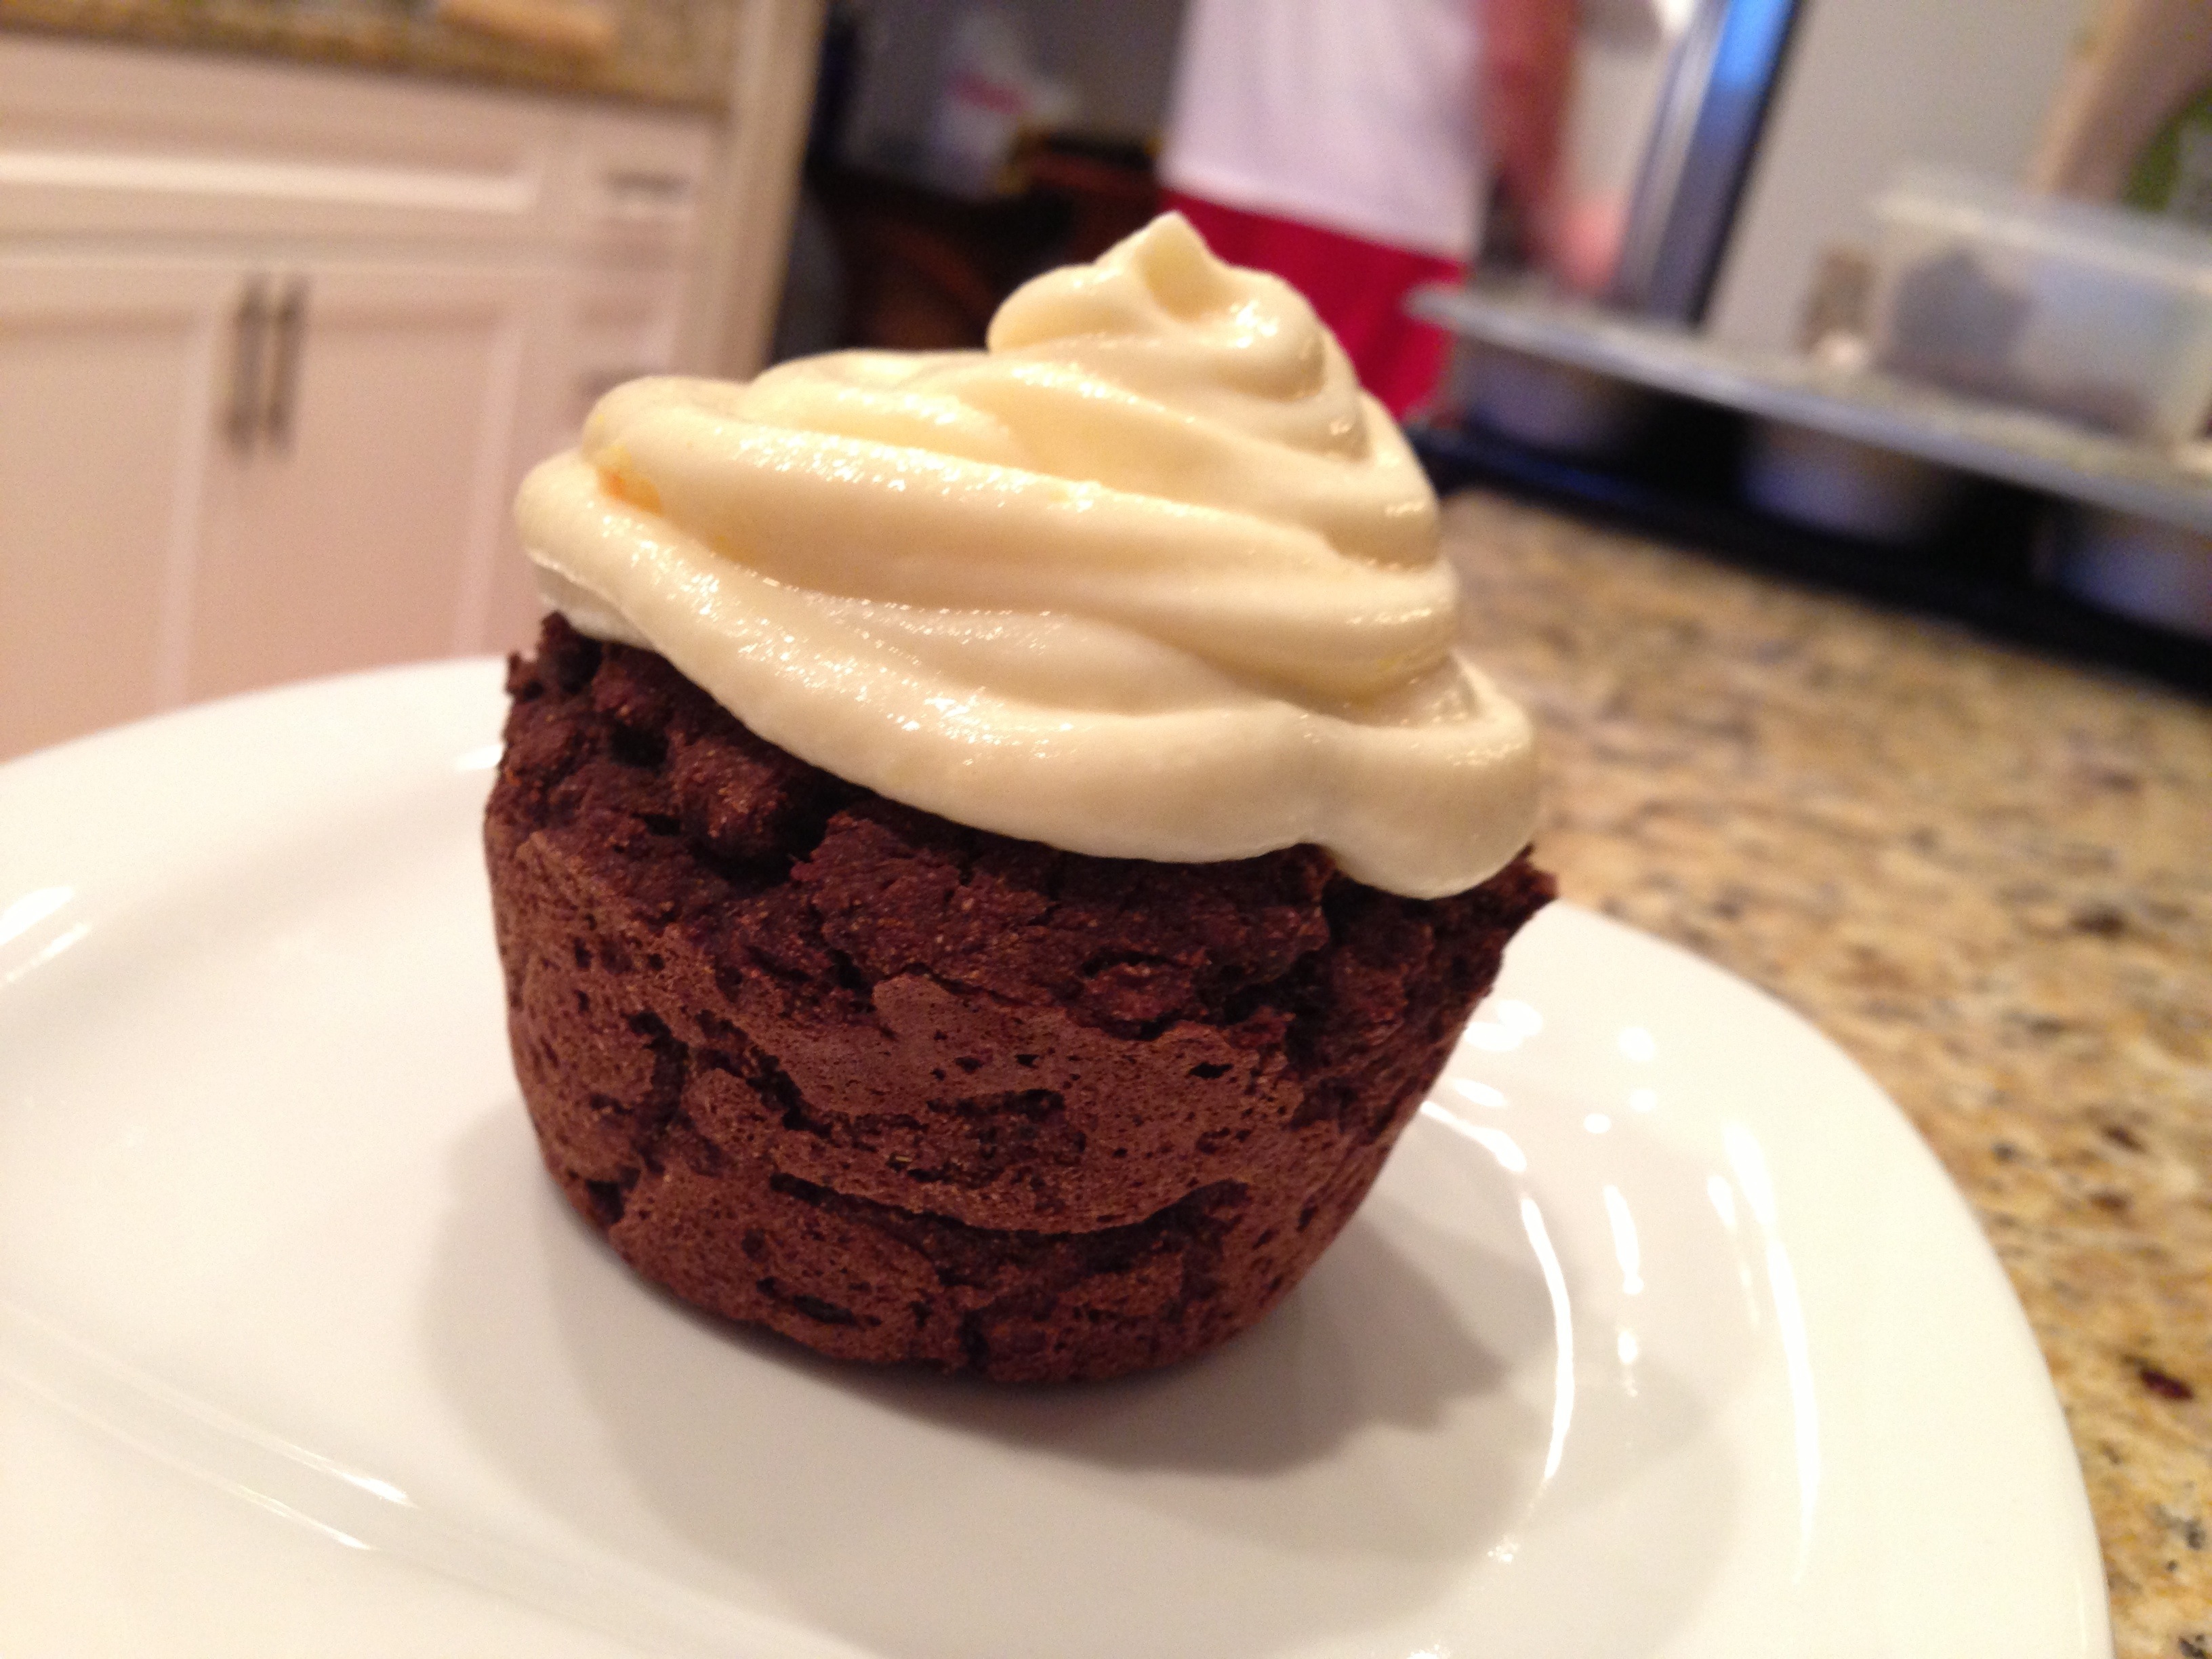
You can top them with protein icing:

1 scoop vanilla protein powder (I used No Whey Peppermint)
11g sugar free fat free vanilla pudding mix
2 tablespoons Greek yogurt

Whisk together by slowly adding water to make a very thick icing texture. You can spoon it into a ziplock Baggie, cut the end and pipe it out to make them look pretty – or just spoon it on the top and devour!!

20130807-101658.jpg

20130807-101706.jpg

Pumpkin Pie Protein Bread

This was a delicious failed attempt at pumpkin bread that turned out to be too yummy to not share.

Dry ingredients:
3 scoops (156g) AI Nutrition Pumpkin No Whey
2.5tsp Splenda brown sugar blend
42g coconut flour
1.5tsp baking powder
1tspn cinnamon
1tson ground ginger

Wet Ingredients:
1 can puréed pumpkin (NOT pumpkin pie filling)
141g (9Tblsp) liquid egg whites
1/2c unsweetened applesauce
4oz fat free Greek yogurt
***2c water (only if needed!! Use 1c at a time for desired consistency)

Preheat oven at 275 degrees
Combine dry ingredients & stir together

Separately combine the wet ingredients and combine together before adding them to the dry.

Mix wet & dry ingredients together. Pour into lightly sprayed muffin tins or baking dish and bake for 1hr. Top should be brown & middle will be slightly soft (like there’s pumpkin pie in the middle)

I used mini bread loaf pans and made 4 mini loaves. For 1 mini loaf (which weighs just under 9oz) I have:
31.8g protein
29g carbs
2.3g fat

20130717-092204.jpg

Thin Mint Brownie Bars

Since my buddy Bill dropped off the mother load of Whey free protein powder I’ve been baking up a storm with his goods. Lucky for him…and my hubs/child/local fitness foodie friends – they’ve been getting to taste test my products.

One of the first that took a little trial & error (error meaning I realized they should be brownie bars versus cookies) were these puppies. I think next batch will be made in a 9×9 pan for thicker brownies. Mmm yum.

What your sexy self will need:
Thin Mint Protein Brownies

2 (104g) scoops AI Sports Nutrition Chocolate dream
2 (104g) scoops AI Sports Nutrition Candy Cane protein
4 tblspn cocoa powder
2.5 tblspn (35g) coconut flour
1/2c (40g) oats
2.5tspn Splenda brown sugar blend
2tspn baking powder
42g raw cocoa nibs

276g liquid egg whites
113g unsweetened apple sauce
113g fat free plain Greek yogurt
3/4c water
2.5tsp peppermint extract

Preheat oven to 275. Mix the dry ingredients in a separate bowl from the wet then combine the two.

Line a 9.5×12″ pan tightly with tin foil and lightly spray with cooking spray. Pour mixture into pan and press down making it even over the whole pan. You can use a smaller pan, the bars will be thicker and take longer to cook.
Cook for 40min or until toothpick comes out clean from centered of bars.

9.5×12″ pan yields 18 brownies. Macros for 1 brownie: 10.1g protein, 7.8g carbs, 1.9g fat

20130716-190536.jpg

Peanut butter Banana Protein Pancakes

Now that I have a handle on how to use Coconut Flour I’m on a roll with my pancakes!!

The hubby doesn’t like pancake syrup so I’m always looking for ways to top his pancakes that will taste amazing!

Today I whipped up a batch of some decadent peanut butter banana pancakes.

I tripled the below recipe to feed my crew. For a serving of three pancakes I came up with 30g protein, 23g of carbs (14g of fiber) and 10g of fat. These are VERY filling.

What your sexy self will need:
3 Tbsp coconut flour
1 dropper of sweet drops
1/4 tsp baking powder
1/4 tsp cinnamon
1 Tbsp greek yogurt
1/4 cup unsweetened almond milk
3 egg whites or 138g liquid egg whites
1/4 tsp butter extract

Mix dry ingredients. Add wet; incorporate well. Batter should be thick. Spoon onto heated pan; cover; cook 3-5 minutes. Flip pancakes, remove from heat.

I also tripled this,
Peanut butter topping:
2 Tbsp Powdered peanut butter (PB2)
1/4 cup unsweetened almond milk
5g sugar free/fat free banana cream pudding mix (dry)

Top with sliced banana and enjoy!! Feel free to add sugar free syrup if you want some insanity in your mouth!

20130629-103852.jpg

20130629-103859.jpg

20130629-103906.jpg

Cake…I’m just gonna stop there with the name

What is dieting all about? For me it’s about the challenge to consume as much food that tastes like heaven but makes my body look like a goddess (the body is still a work in progress..ahem)

I also don’t like using fake stuff…meaning sugar free this or that, with my one exception of sugar free fat free pudding MIX – I really try to keep things whole foods only. Well, because of this I’ve learned to like flavors and textures that the normal junk eating American wouldn’t go near. Well my sweet friends – this recipe will fool ANY junk food connoisseur. I literally had to stop eating multiple times because I was freaking out about how amazing and non-squashy it tasted.

That said, I’ve been wanting cake and brownies like a fat kid…eh, wants cake..meh, bad example but you get the idea. Thanks to the amazing world of Instagram I’ve learned some new tricks. One of them is coconut flour and the other is squash. Ya ya ya, I know squash isn’t anything new BUT what IS new (to me) is Kabocha squash. It looks similar to an acorn squash but has 8g of carbs in 100g serving versus acorn squash’s 14.6g of carbs.

Oddly enough I couldn’t find these amazing little babies anywhere except for Meijer, although my next stop was the Asian Market and I’m guessing the probably would have had them.

Ok ok enough. To the recipe – I have to give credit to Amanda Clark click her name and it’ll take you to her blog, she’s amazing – I promise.

I tweaked her recipe a little to fit my macros. And with the following I came up with 25p/33c/6f

Your sexy self will need:
100g cooked kabocha
1/4 cup greek yogurt
2 tbsp almond milk
1 egg white (or 46g liquid whites)
1/4 tsp baking powder
1 tbsp coconut flour
1/2 tsp cinnamon
1/4 tsp vanilla and almond extracts
stevia to taste

Mix all ingredients; microwave 4 minutes

Mix chocolate sauce;
5g Hershey’s cocoa powder
5g sf/ff chocolate pudding MIX
Just enough almond milk to make it a thick sauce

Place a plate upside down on top of the bowl; flip quickly; shake gently until bowl releases from cake.

Pour the sauce onto the cake and top with the warmed up/chopped up 1/2 quest bar and two strawberries – sliced.

20130618-145531.jpg

Why you can’t afford to NOT eat organically raised foods

As many of you know my husband and I are in the very slow process of building a home. I’ll spare you the details (*ahem* drama) but because we are hemorrhaging money we have had to become more aware of what we spend on everything.

God has really blessed us so that, in the past, when I would grocery shop I would buy what we needed without too much thought. Well, that’s changed…and since neither of us are willing to give up quality I had to get creative FAST.

I immediately went to my shopping list since I typically buy the same ingredients over and over. I wanted to find the lowest prices on my “must haves”. The catch here is that I’m not a couponer or deal-seeker-outer. This meant I needed to find the lowest prices on my list that are ALWAYS this price….and if there’s a sale, great, if not- I can rest assure that my “must-haves” are my “always haves”.
On top of this, we are SUPER strict about eating organic products. Sure I’ll throw in a Reece cup here or a twizzler there per my cravings but y’all know we don’t regularly eat that stuff. I’m talking weekly meals that are made up of 99% organic foods. (If you don’t care about organic and think I’m stupid for buying it, keep your opinion to yourself – I’m feeding MY family what I deem appropriate).

Okay so you get the idea: Groceries, organic, cheap.

So my price shopping included (my beloved) Whole Foods, Trader Joes, Kroger, Giant Eagle (fuel perks!) and Walmart. In this search I only allowed myself to shop with the REGULAR EVERY DAY prices they offered. No specials.

Here’s what I found:

20130603-165316.jpg

You see what I see, right?! Whole foods ISN’T more expensive – well, some things there are but if you plan ahead you CAN buy organic and stay within a budget.

Obviously you can eat cheaper by not buying organic foods – but again, this process wasn’t about that. It was about what MY family eats. The biggest thing I found was that the organic selection of protein (animal meat) is VERY limited. So I’m working to find local options where I can buy in bulk.

Today, I brought home 2 weeks (if not more) worth of groceries for $279.79. Yes, this means meals at home. Yes, this means cooking them all…but it also means that we will be able to furnish our home (if we ever move in…whaawhaaawhaaaaaa).

More Muffins! Simple pumpkin muffins

It’s cold and rainy here in Columbus Ohio so I thought “imma get my bake on”. Since my fabulous in laws are visiting and I wanted to make something they would enjoy that doesn’t taste “healthy”. How ’bout some pumpkin muffins?!! Yum.

Preheat your oven to 350 degrees

For 12 giant muffins you’ll need:
Dry ingredients:
🔹1c whole rolled oats
🔹8 scoops Beverly UMP vanilla protein powder (31.5g per scoop) 🔹1tspn baking powder
🔹1tspn baking soda
🔹1tspn cinnamon

Wet ingredients
🔸1can pumpkin purée (not pumpkin pie filling)
🔸1c liquid egg whites
🔸1/2c unsweetened apple sauce
🔸3 droppers of original flavor sweet drops stevia
🔸1/2c water (maybe a little more – I eyeballed this)

-Mix the dry ingredients together then the wet and then combine them together. Spray paper muffin liners with cooking spray and top each muffin with 4 semi-sweet chocolate chips. Bake for 25min at 350 degrees.

20130527-153127.jpg

20130527-153156.jpg

20130527-153206.jpg

20130527-153221.jpg

20130527-153230.jpg

Fast “Fancy” Salad

You know how I am about spending time on cooking…I hate it!  I just want to eat already!

This salad is from the night I made Cioppino.  It’s shockingly easy and will empress the snobbiest of palettes.

Serves 6

Here’s what you’ll need:

1 container cherry tomatoes

4 avocados

1 large container of arugula

2 handfuls of basil, chopped coarsely

Under the broiler, roast your cherry tomatoes in a baking dish that has been LIGHTLY sprayed with Olive Oil until they being to brown and blister.  Once they are ready, take them out and let them cool (not cold, just not blazing hot).  Dump your arugula and basil into a large bowl.  Meanwhile, cube your avocados by slicing them in half – removing the pith and gently cutting the flesh into squares – flip the shell inside out and gently remove the flesh from the skin INTO the bowl of greens.  Add tomatoes, sea salt, pepper and a few big splashes of balsamic vinegar.  Gently toss and you’re done!

20130409-144118.jpg

Cioppino (pronounced cha-peeno)

I’ve been meaning to post this for the past two weeks – SORRY!!!

During contest prep I like to invite friends over for dinner so I can control the food. Yes, that makes me controlling BUT it also makes life easier and more fun. Going out can be challenging and for some, risky so I tell my pals “come on over – I’m making dinner!” And I’ve never had anyone turn down the invite.

That said, a favorite of mine that can be made any time of the year and is ALWAYS a crowd pleaser is Cioppino! The first time I had it was with my (very Italian) friend Vito. Now that I’ve mastered my recipe, he handles the amazing pizza and I make the stew.

It’s easy enough to throw together when visiting friends as well. I like to make it for my in-laws when the vista from Connecticut…. In hopes of proving that this southern girl can handle her clams! 😉

Ciopinno is a fish/seafood stew deriving from Italy and is usually prepared from the catch of the day, which explains the many regional versions. It’s never the same twice so go ahead and make the base and add any fish/seafood you like according to your local market.

Yield: 6 BIG Servings

Here’s what you’ll need:
1 tablespoon olive oil
1 large fennel bulb thinly sliced and diced
1 onion, chopped
3 large shallots chopped
2 teaspoons salt
4 large garlic cloves finely chopped
3/4 teaspoon dried crushed red pepper flakes (optional)
1/4 cup tomato paste
2 15 oz can diced tomatoes in juice (with italian seasonings)
5 cups fish stock (vegetable or chicken can be substituted)
1 bay leaf
1 pound clams scrubbed
1/2 pound mussels scrubbed, debearded
1 pound uncooked large shrimp peeled and deveined
1 1/2 pounds assorted firm-fleshed fish fillets such as cut into 2-inch chunks
1 pound bay scallops

Instructions:
Heat the oil in a very large pot over medium heat. Add the fennel, onion, shallots, and salt and saute until the onion is translucent and starting to brown, about 10-15 minutes.

Add the garlic and 3/4 teaspoon of red pepper flakes, and saute 2 minutes.

Stir in the tomato paste.

Add tomatoes with their juices, fish stock and bay leaf. Cover and bring to a simmer. Reduce the heat to medium-low. Cover and simmer until the flavors blend, about 30 minutes. For a thicker broth, pour liquid into a blender or food processor in batches to liquefy the ingredients before adding fish or shellfish.

Add the clams and mussels to the cooking liquid. Cover and cook until the clams and mussels begin to open, about 5 minutes.

Add the shrimp, scallops and fish. Simmer gently until the fish and shrimp are just cooked through, and the clams are completely open, stirring gently, about 5 minutes longer (discard any clams and mussels that do not open).

Remove bay leaf.

Season the soup, to taste, with more salt and red pepper flakes.

Ladle into bowls using a slotted spoon and then ladel just enough juice on top for dipping.

Don’t be afraid to substitute. Try orange roughy, talapia, crab legs, etc….


photo 5 photo 4 photo 2 photo 3 photo 1 photo 1-1 photo 2-1

Thai Chicken Pizza, say “whaa?!”

I’m on a pizza KICK. I’ll pretty much put any topping on some whole wheat crust and somehow it’s delish!

My coach just cut my macros so I’ve been trying to find ways to eat less fat – boohoo. No more whole eggs three times a day…such a shame.

Last night I was short on time – as so many of us are – and I had already use up the homemade pizza dough I had whipped up last week so I had to improvise with store bought. I was dreaming of Z Pizza’s Thai Chicken pizza and came up with this puppy.

What you’ll need:
-Whole wheat pizza dough
-Roasted chicken breast, sliced into bite size pieces (mine was leftover but you can follow my roasted chicken recipe or if you’re in a major time crunch, cheat and buy a rotisserie one from the market…but know its higher in fat)
-1/4 red onion sliced thinly
-mung bean sprouts (I used broccoli sprouts ’cause its what I had on hand)
-2 whole carrots peeled (ya, just use a peeler instead of cutting them thinly)
-peanut sauce (store bought is fine but I make my own…recipe below)
-1/2c low fat ricotta cheese
-1 handful cilantro
-sea salt & pepper to taste.

For peanut sauce: 2tblspn creamy peanut butter, 1tblspn soy sauce, 1tblspn rice wine vinegar, 1tspn chili powder, 1tspn garlic, 1tspn honey – stir together.

Preheat your oven to 400. LIGHTLY coat your pizza crust with olive oil, top it with your peanut sauce and red onions. Bake for 5min.

Add your chicken, bean sprouts, carrots, cilantro and ricotta. Bake for 5 more minutes.

Eat. 🙂

You’ll notice two things, that my photo isn’t fancy and beautiful and that I put my sauce on last in the photo, don’t do that…it was trial and error and its better to sauce the crust first.

Hope you enjoy!!

20130313-161508.jpg